I faced the dilemma that i am sure many apartment dwellers face today, how do i maximise storage and entertain at the same time without losing the valuable space inside my 2 bedroom apartment. My theory was to create a kitchen island that could house a large amount of storage while at the same time act as a dining table.
The main critical points of the brief were it had to be of Caesar Stone or stone quality and feel, and it had to be affordable and most of all original. After a lot of research i came to a solution.
Materials Used
IKEA Base Faktum High Gloss Abstrakt White Cabinets
Rational Draws
Besta Push Openers
Hand made White Concrete Side Panels and Top
Dimensions
1600mm x 600mm Space
2 x 600mm Faktum Abstrakt White Cabinets
1 x 400mm Kaktum Abstrakt White Cabinets
Concrete Countertop 1700Lmm x 800Wmm x 50mm Deep
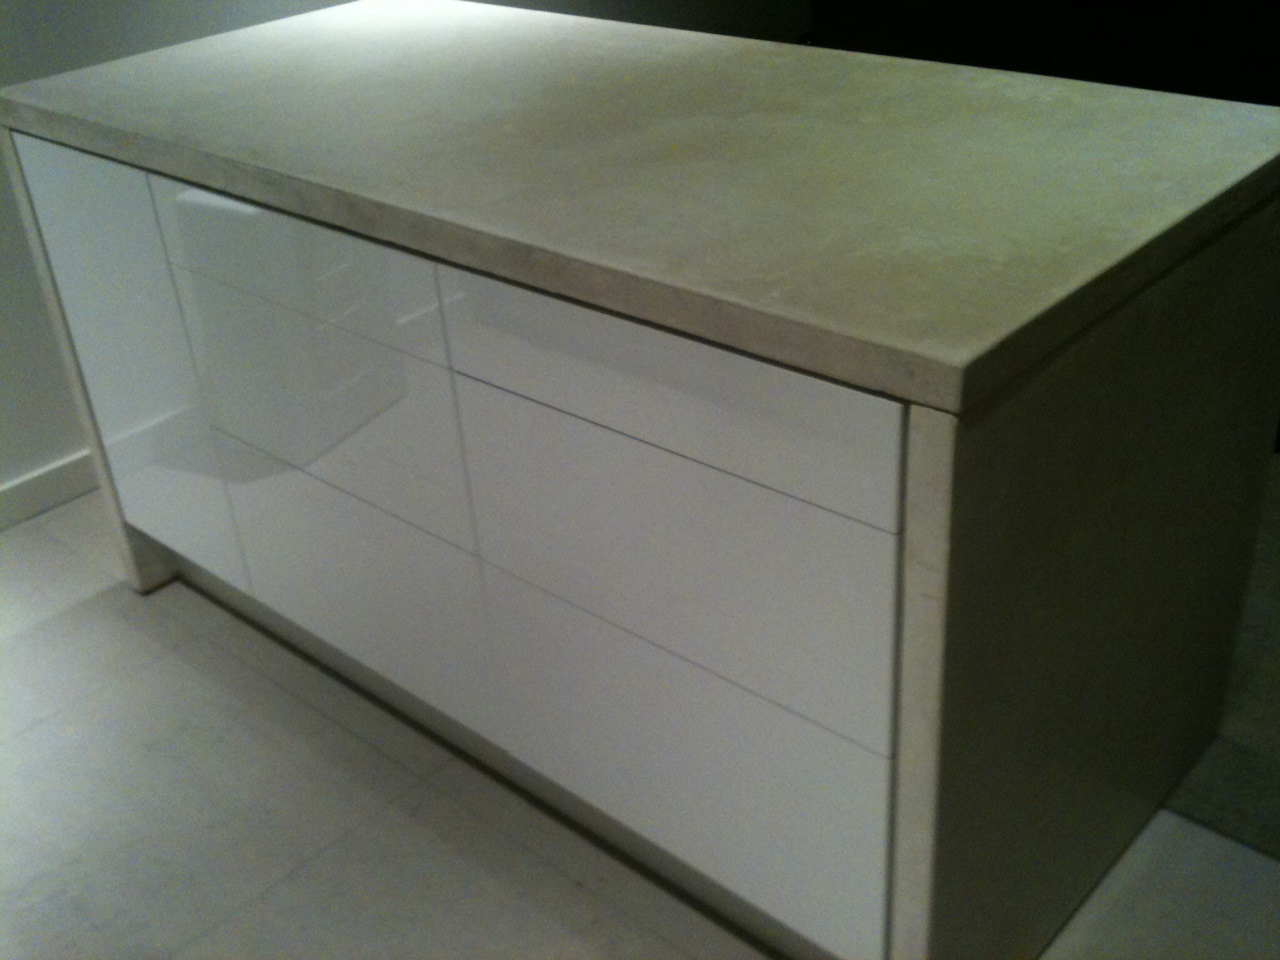
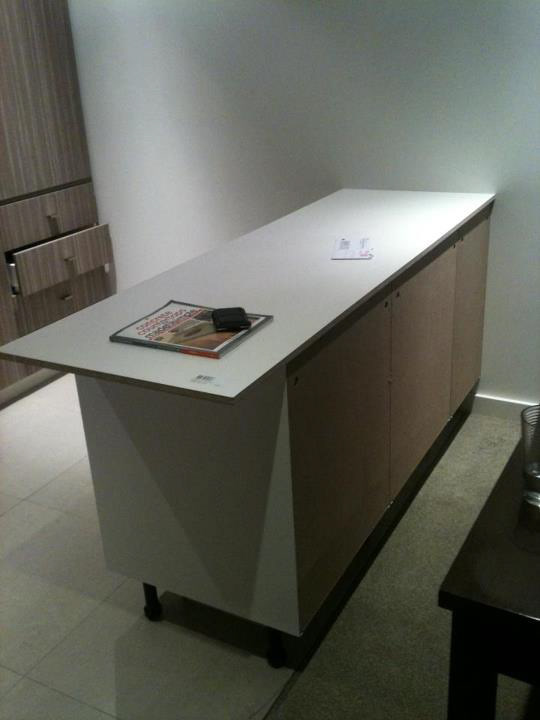
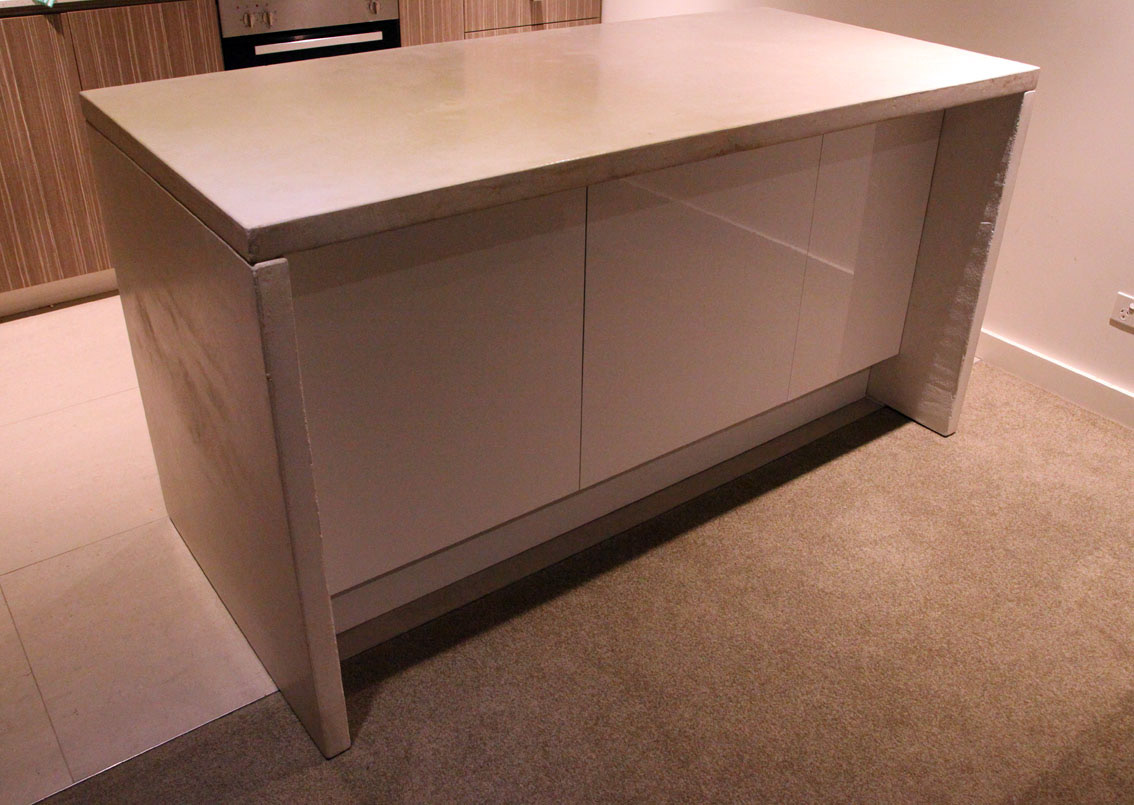
Finished Product.


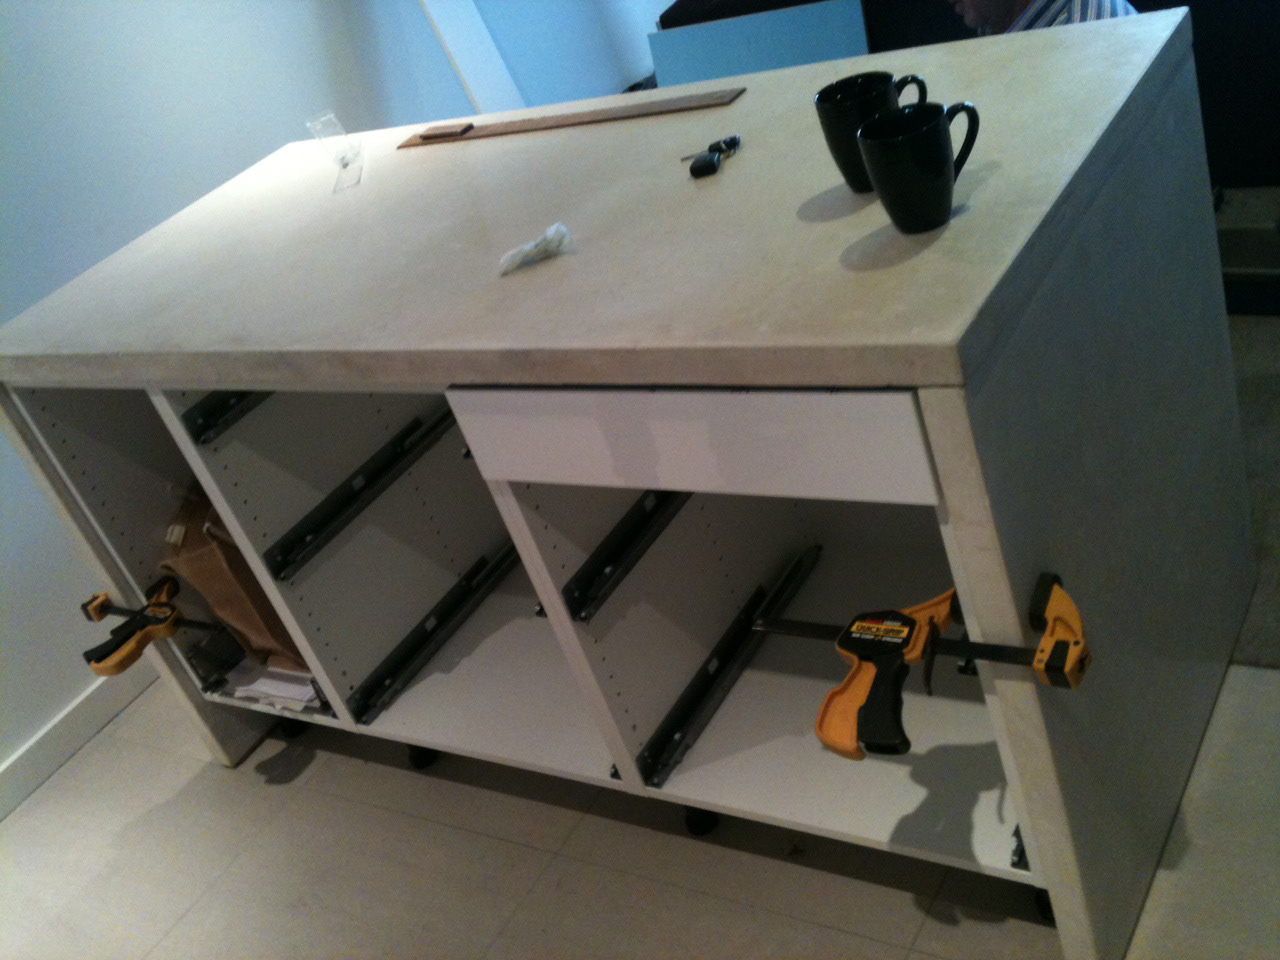
First the cabinets were assembled, I used an ikea model, nice and simple with good draw options.
I used 2 x 600mm and 1x 400mm to make the island I required. Total length 1600mm
Above picture shows the cabinets with draws assembled, I used a temporary melamine sheet to act as the top while I make the concrete top.
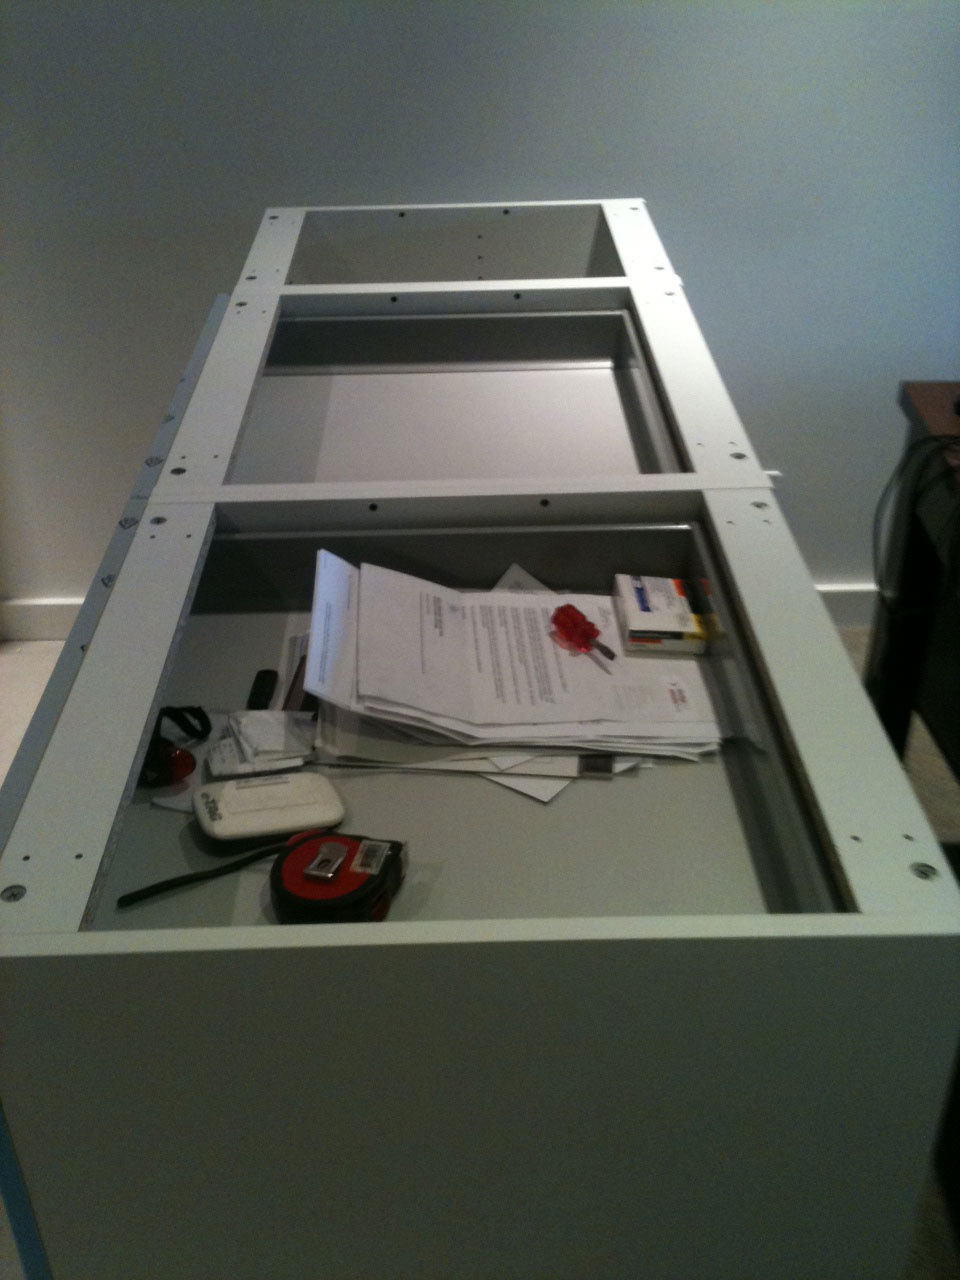
Top of IKEA bench which the top will rest on.

Re-enforced base box constructed to hold the weight of the concrete, plynth legs housed just outside box to clip white plynth panels on once concrete is installed.

Cabinet legs do not have to carry any weight at all, just screw them down to a firm tension to hold the plinth board.
In order to construct the concrete panels i had a very good reference book called Concrete Countertops Made simple, you can buy off Amazon or concrete network.
Without this reference you will find this part of the build almost impossible, well worth the $14.95.
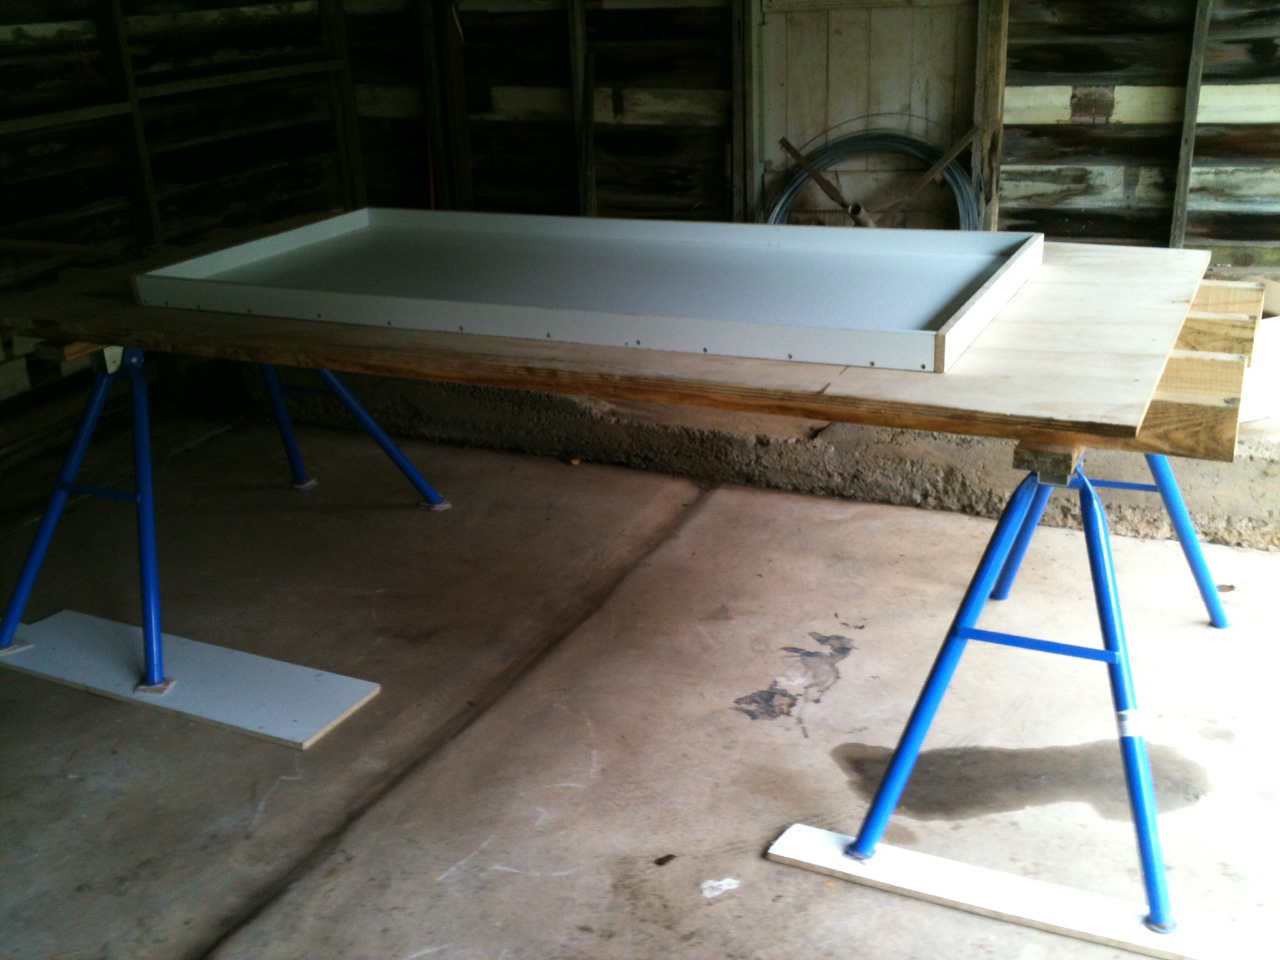
To get the table dead flat i used pieces of melamine and cement sheet to raise the legs.
There would be more efficient ways to do this i am sure but i had already committed to this method.
I think if you added screwable threaded metal feet on each leg you could get a very accurate level.

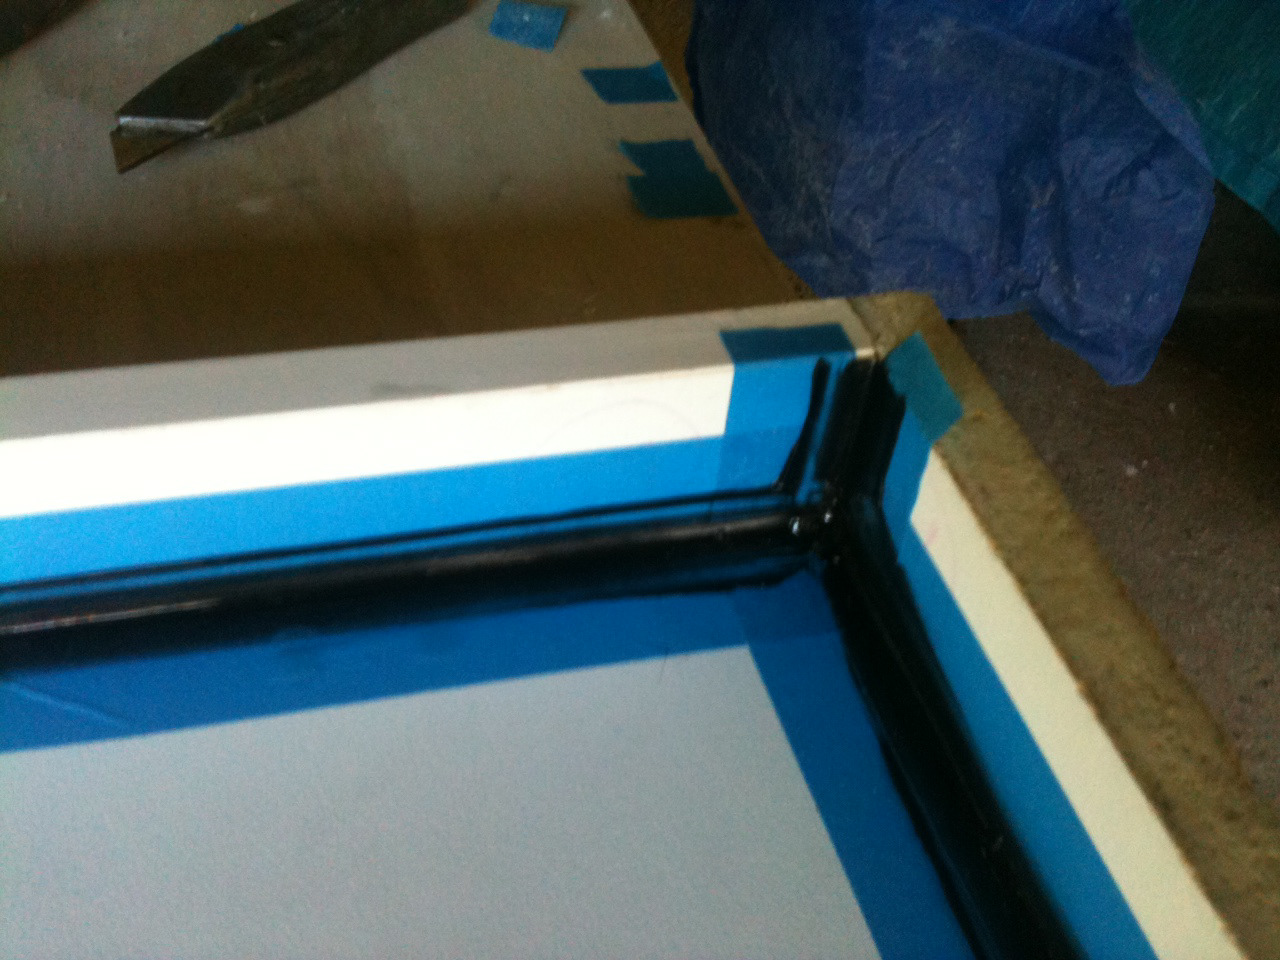
Side Panel Mould with black silicon to create a natural bevel edge.
I used painters tape to allow for a smooth edge of silicon. Tape the edges leaving space in middle for silicon and use silicon gun to apply. Smooth with finger and remove tape.
I used painters tape to allow for a smooth edge of silicon. Tape the edges leaving space in middle for silicon and use silicon gun to apply. Smooth with finger and remove tape.
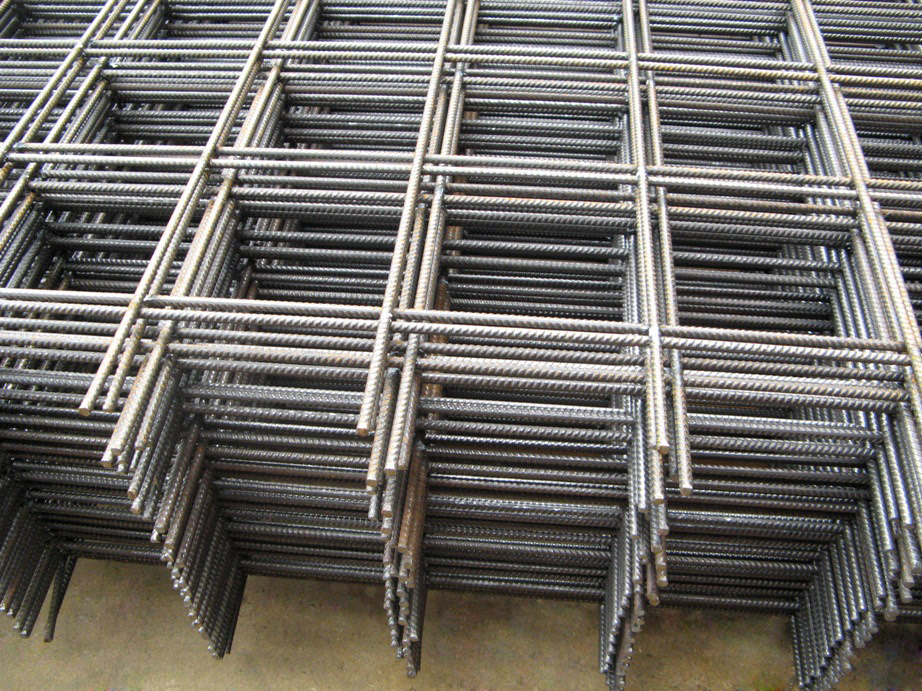
I used 1cm re-enforced steel bar and cut to size to suit frame. Make sure the bar is about 30mm from the edge of the mould and also not touching the base.
Support by wires tied around screws on table to hold the re-enforcement in the middle of mould. In addition to this you also need to add an admixture which consists of nylon fibres to strengthen the smaller areas for cracks and also plasticiser to make sure the concrete runs into all the spaces more efficiently. I used fibre glass fibres as i could not find any nylon.
Refer to the reference book i mentioned for more details on these.
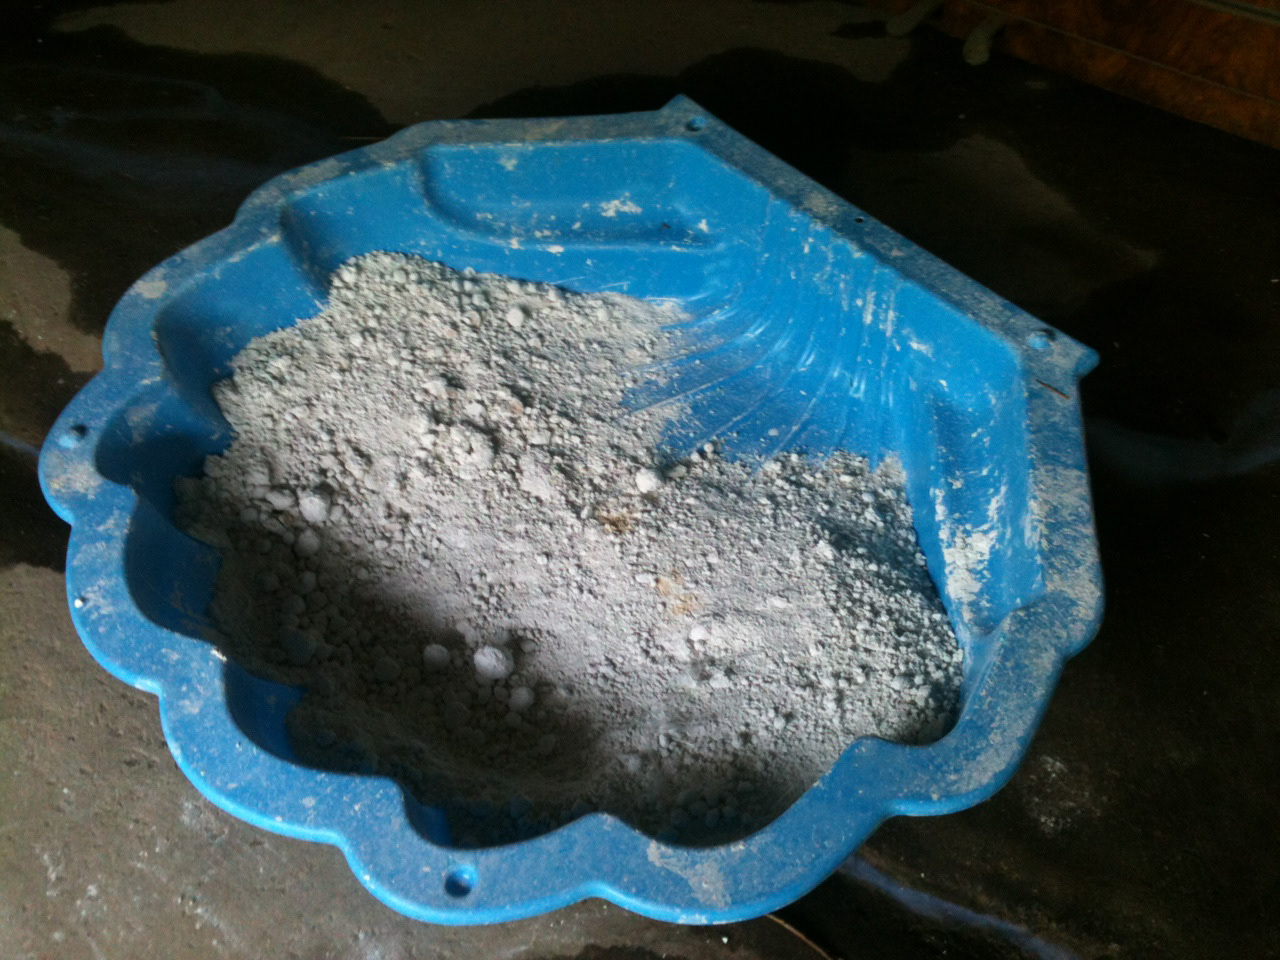
I used white cement however you can use any cement you like. Just make sure the mpa rating is construction grade.
White cement is harder to find for some reason in Melbourne Australia but look around your area for suppliers. you can get pure white or off white. Pure white is the one you want as the sand you use will reduce the whiteness of the overall concrete. If you can get your hands on bleached sand use that as it will guarantee a pure white finish.
Use a mixer if you can get your hands on one, i wanted to keep costs down so i mixed it the old fashioned way, by hand in a toddlers pool! Worked a treat! Dry Mix in this and then transfer to a wheel burrow to add your water and start you wet mix, that way you reduce sand pockets and you can control your mix amounts with more accuracy.
When pouring into the mould make sure you vibrate or shake the table to get rid of air pockets. if you can get a drill vibrator attachment that is ideal. this is very important and can save you heaps of time later with air holes.
Unfortunately as i was doing this project solo i had no images of this stage of the build.

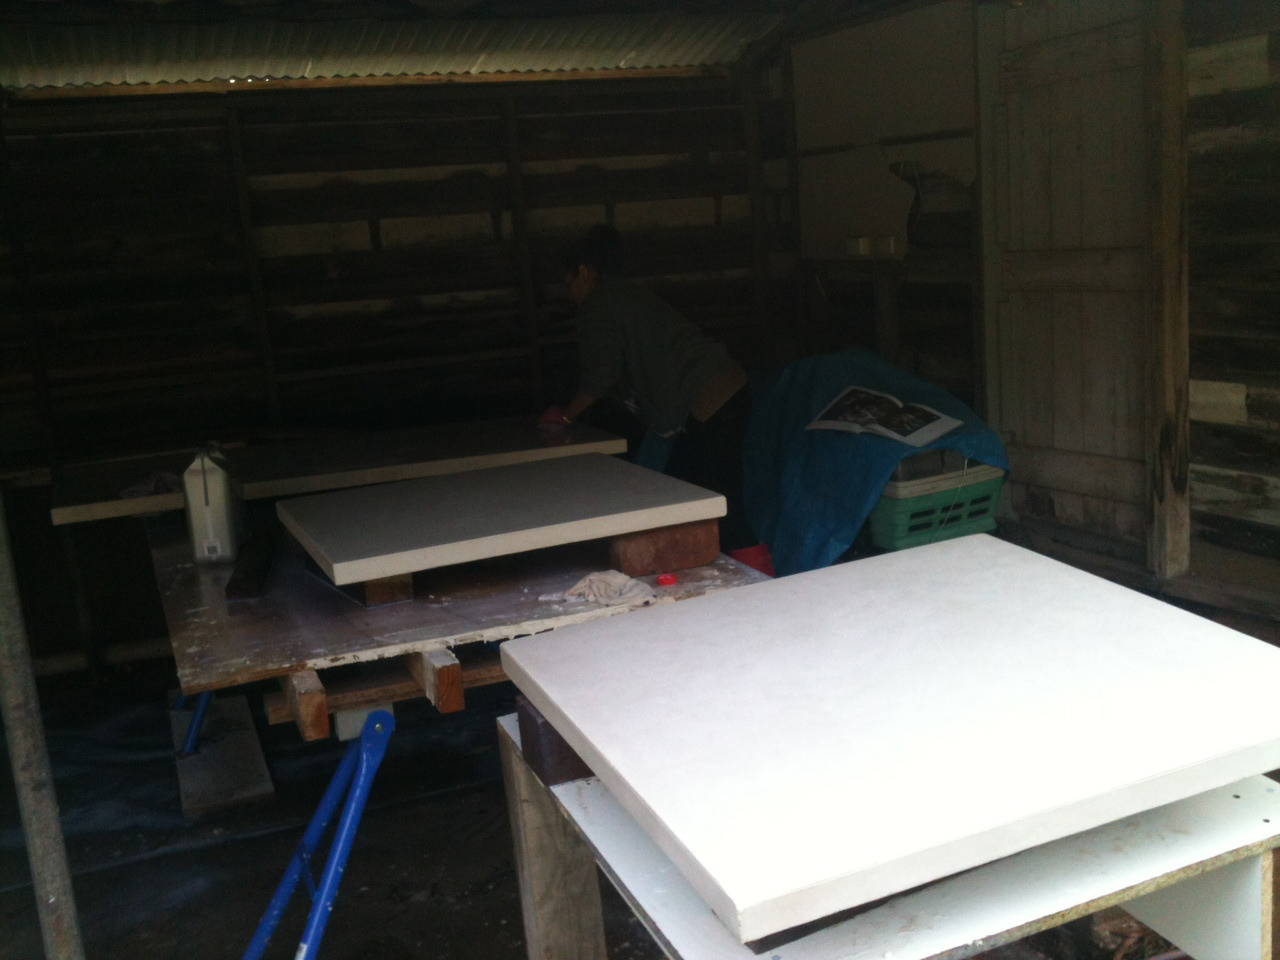
All panels should be covered by plastic to stop rain or dirt from staining the concrete while it drys. Let it dry for 4-5 days until you remove the mould.

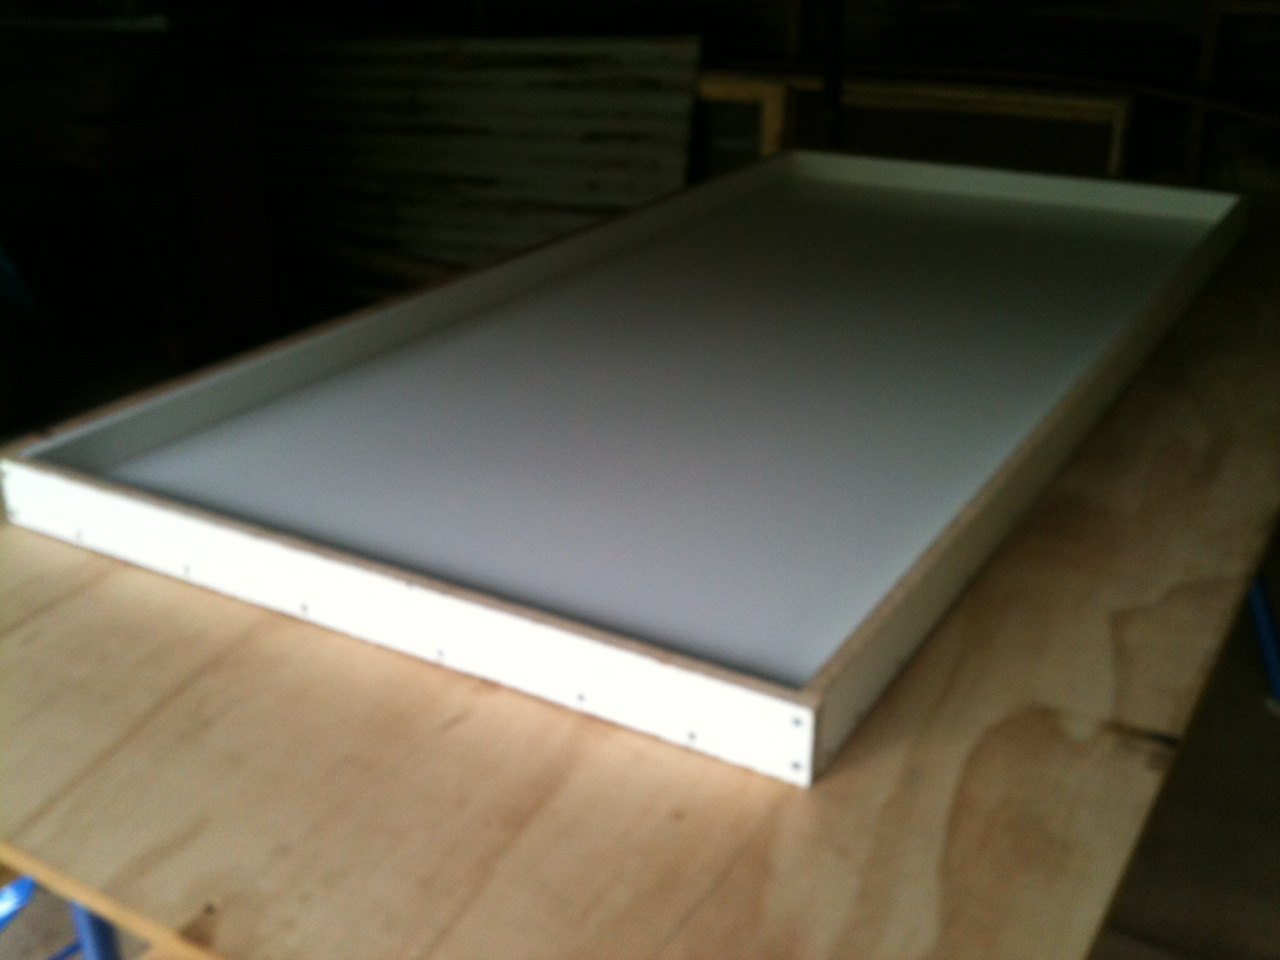
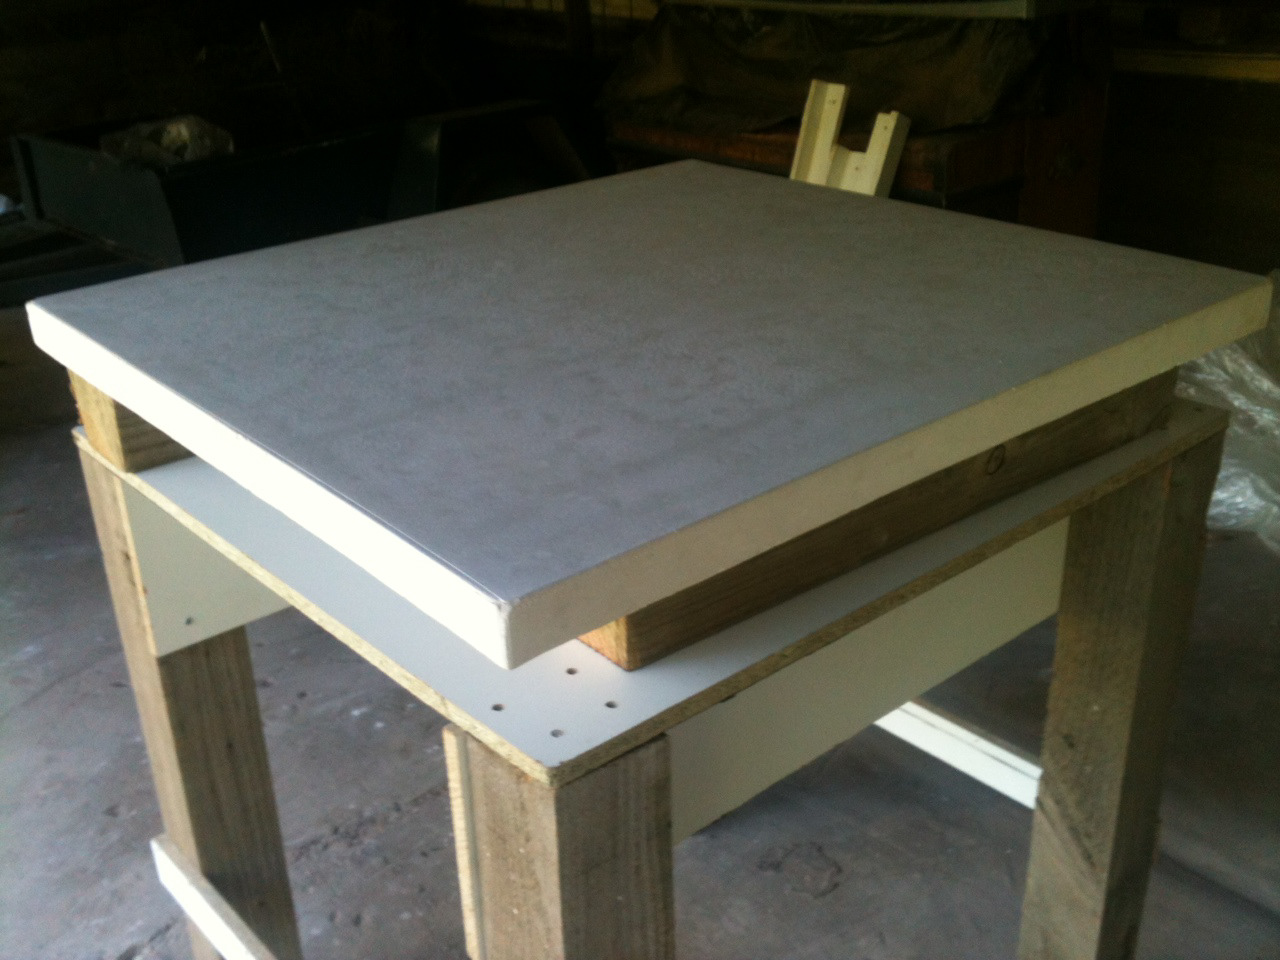
First Panel Revealed out of mould, a few air bubbles which i fill in with a slurry coat and sand off.
Overall a good result for first attempt. Add slurry and smooth off, allow to dry overnight and then get ready to polish.
Overall a good result for first attempt. Add slurry and smooth off, allow to dry overnight and then get ready to polish.
Second panel unvealed from mould, great result this time as i used a runnier concrete mix to get into all the gaps. I think this is the key to getting a really smooth end result.

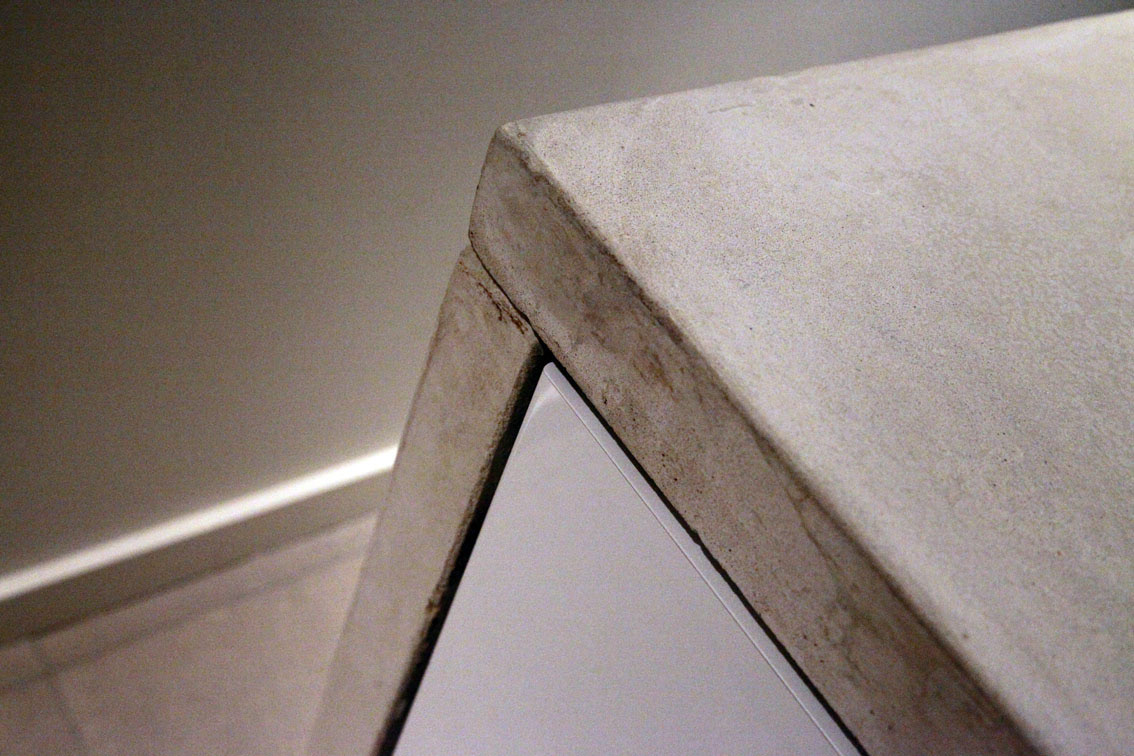
Bevelled edge created by the silicon applied in the mould.
The melamine creates a natural flat finish without the need for a lot of polishing.
Once out of the mould and air bubbles are filled i will polished with a diamond blade disc to get a hi gloss finish.
The melamine creates a natural flat finish without the need for a lot of polishing.
Once out of the mould and air bubbles are filled i will polished with a diamond blade disc to get a hi gloss finish.
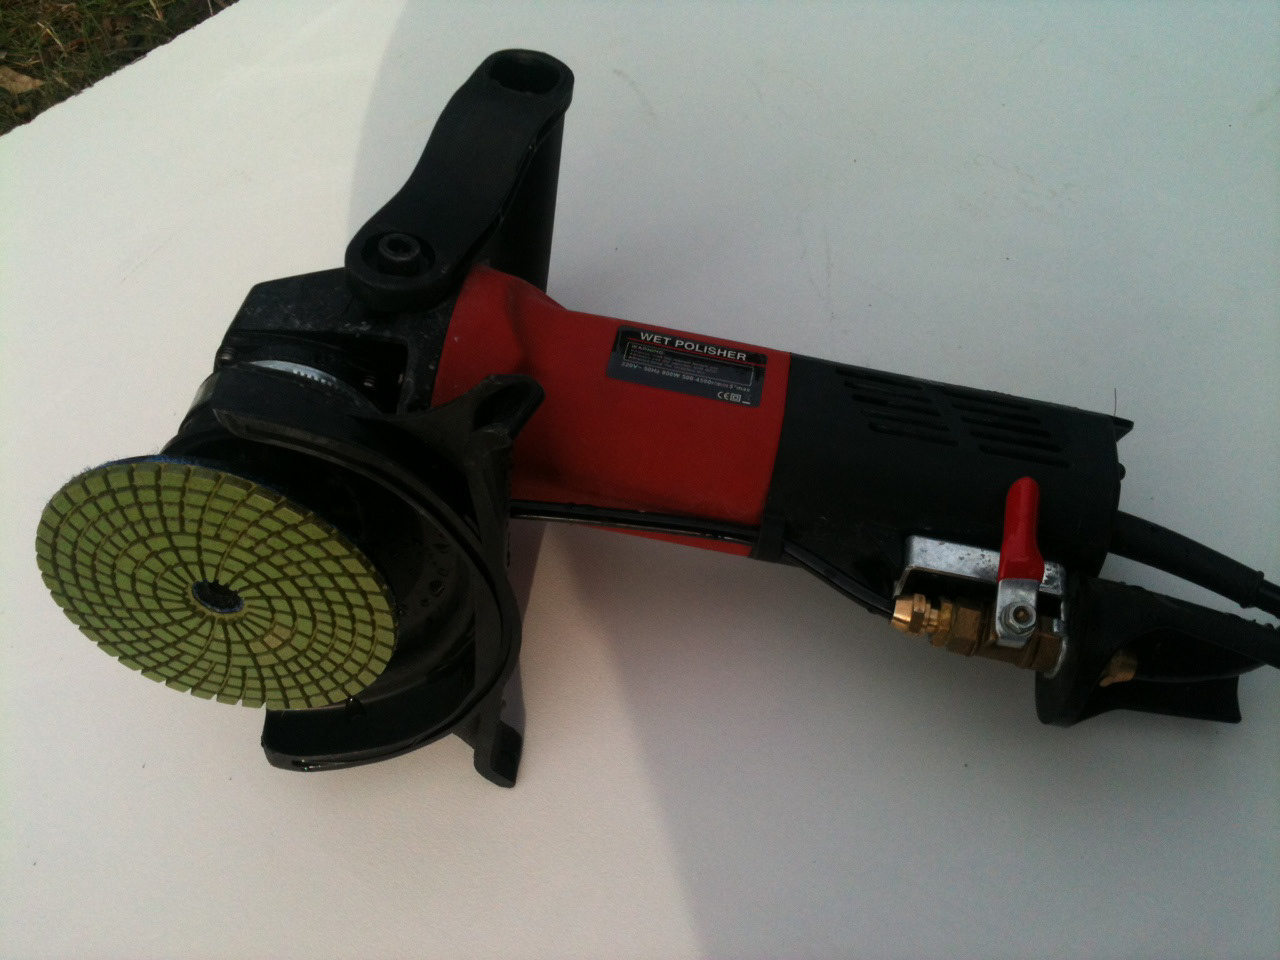
Wet polisher with Diamond blades.
These things are as rare as hens teeth in Melbourne, even to hire. So much so i had to actually buy one from an Opal town in Northern Australia and get it sent down to good old Victoria! It was a major cost of the project coming in at $275 with diamond blades however this was still cheap for a wet polisher. You can do it with an orbital sander if you have the diamond discs but be very careful when applying water as the discs must be wet when polishing. In the U.S. you can get one of these a lot easier and cheaper.
Don't even attempt to polish it without diamond disks either, i tried sand paper and it is all rubbish. if you want the high gloss finish you need to diamond blades from 50 grit right up to 3000 grit.
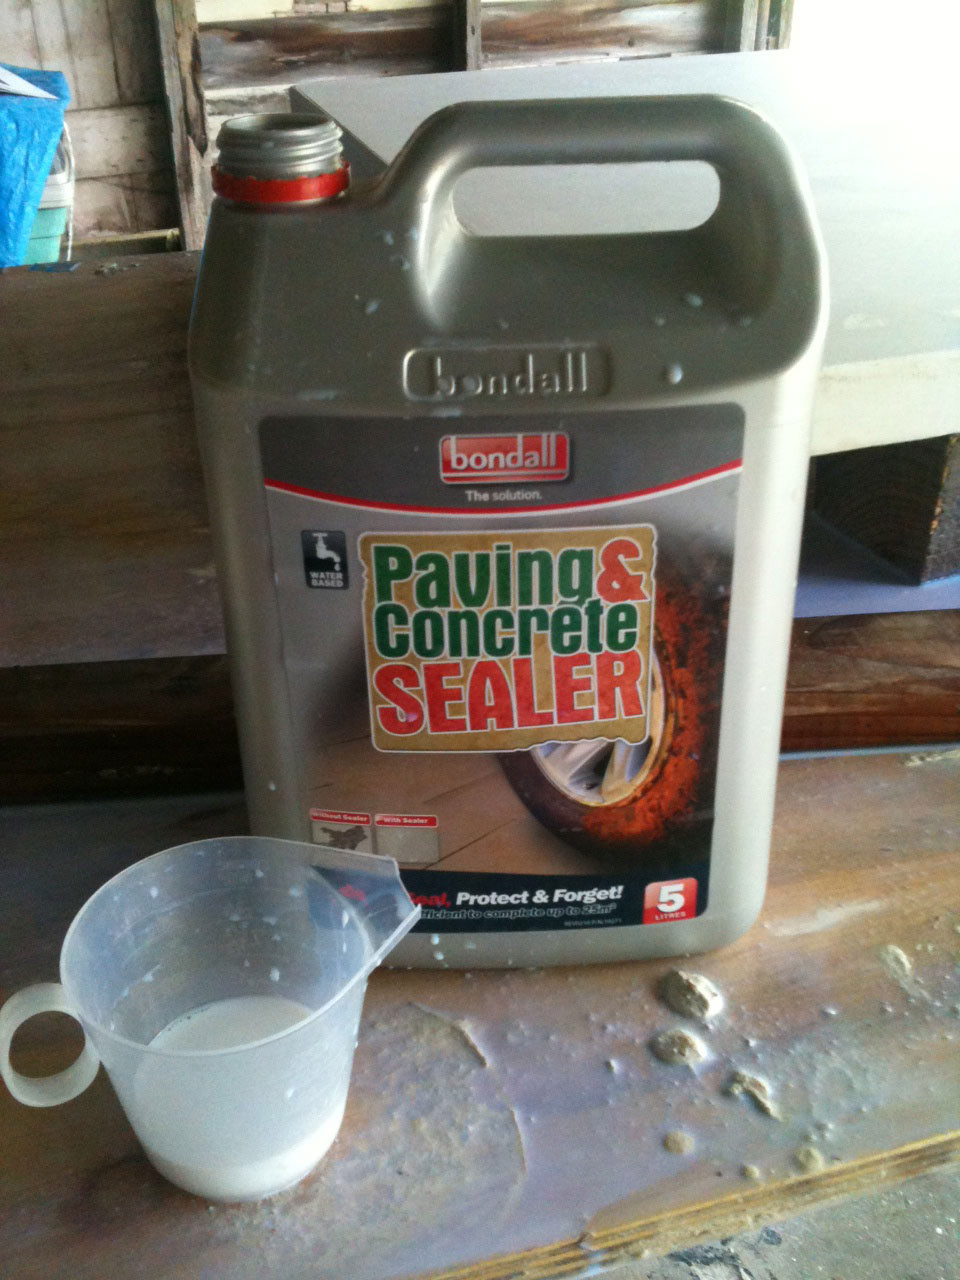
Sealer after polish, get an acrylic sealer for a natural stone finish.

Seal at least 2 times for a really nice seal, if you rush this part and not seal enough you will get stains later down the track. Very important stage.
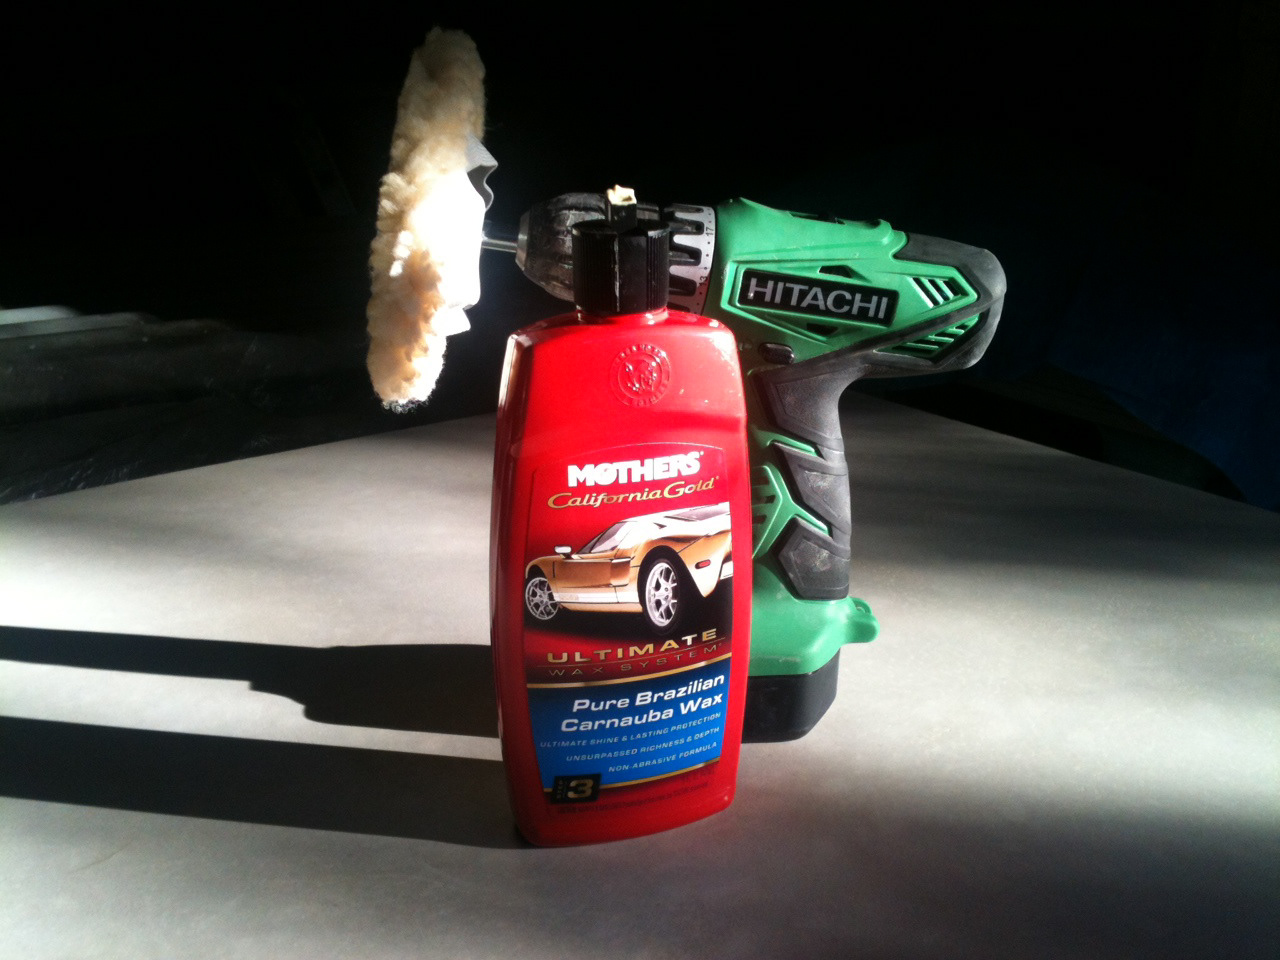
Carnuba Wax to finish polish.
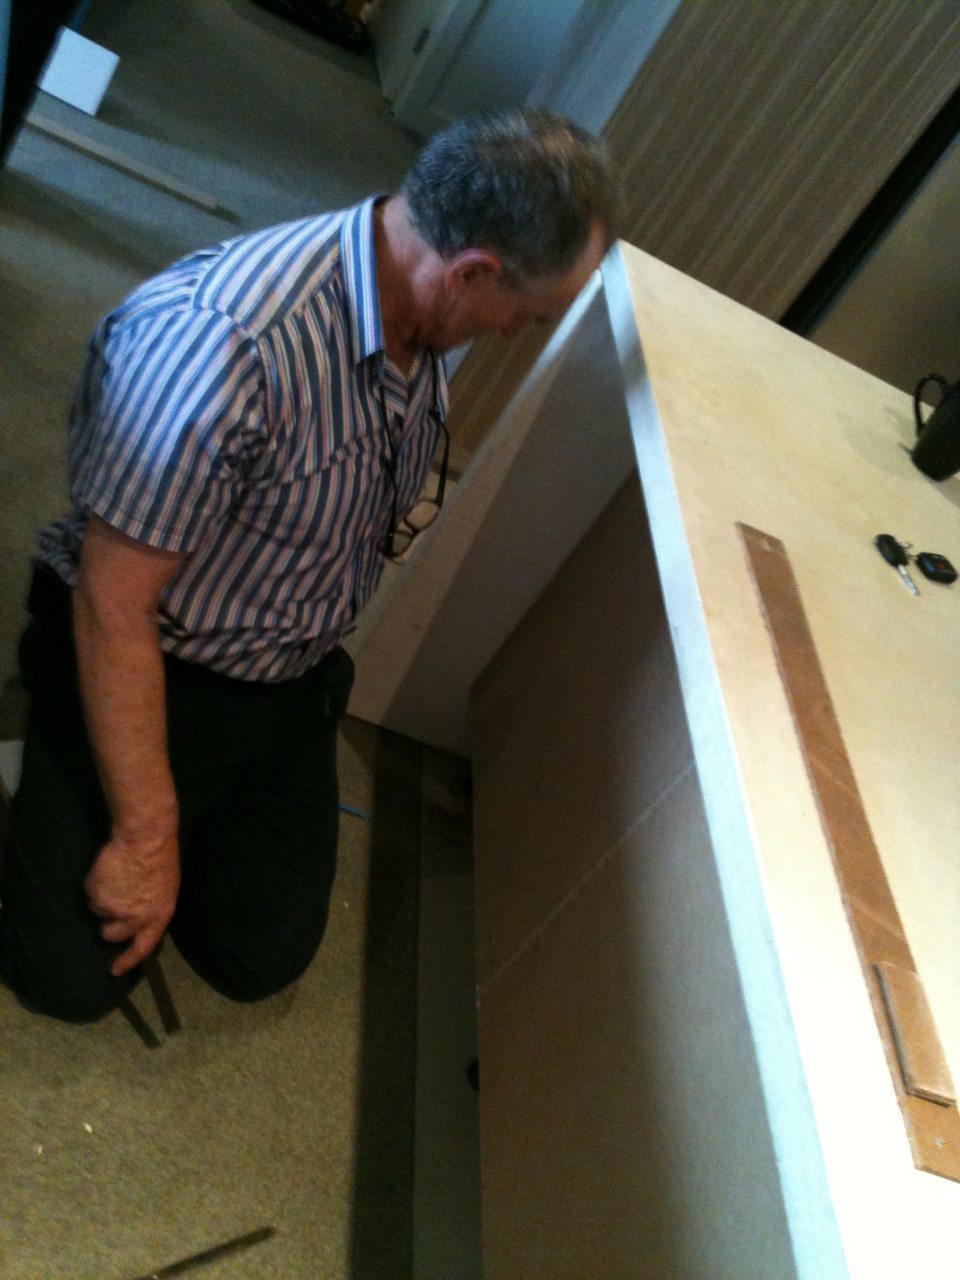
Installation is a hard and crucial part of the project. Get help, and estimate how much your panels will weight before embarking on carrying them. There are calculators to work this out online. Just search concrete volume calculator. I worked out the top panel alone was 150kg and the sides 75kg each. So all up 300kg of concrete!
Don't rest on edges as you carry as the weight will just explode the edges. Use a dolly to transport and always lift on it's side and not flat as the weight may bend or crack the concrete. To fix the panels to the cabinets use silicon. The silicon and weight of the concrete will ensure it will not go anywhere.
Don't rest on edges as you carry as the weight will just explode the edges. Use a dolly to transport and always lift on it's side and not flat as the weight may bend or crack the concrete. To fix the panels to the cabinets use silicon. The silicon and weight of the concrete will ensure it will not go anywhere.

I had to pack the base of panels with masonite to ensure secure fit. Plus it will fill any small gaps to make sure all panels align flush. Silicon base of panels to ensure a water tight seal for the packing.
Brace panels until silicon drys, while this is happening install your back panels.
Silicon the 2 x 600 panels on the back of the cabinets, as they only come in 600mm widths i had to cut the 400mm panel to size. Prop up and leave to dry overnight.
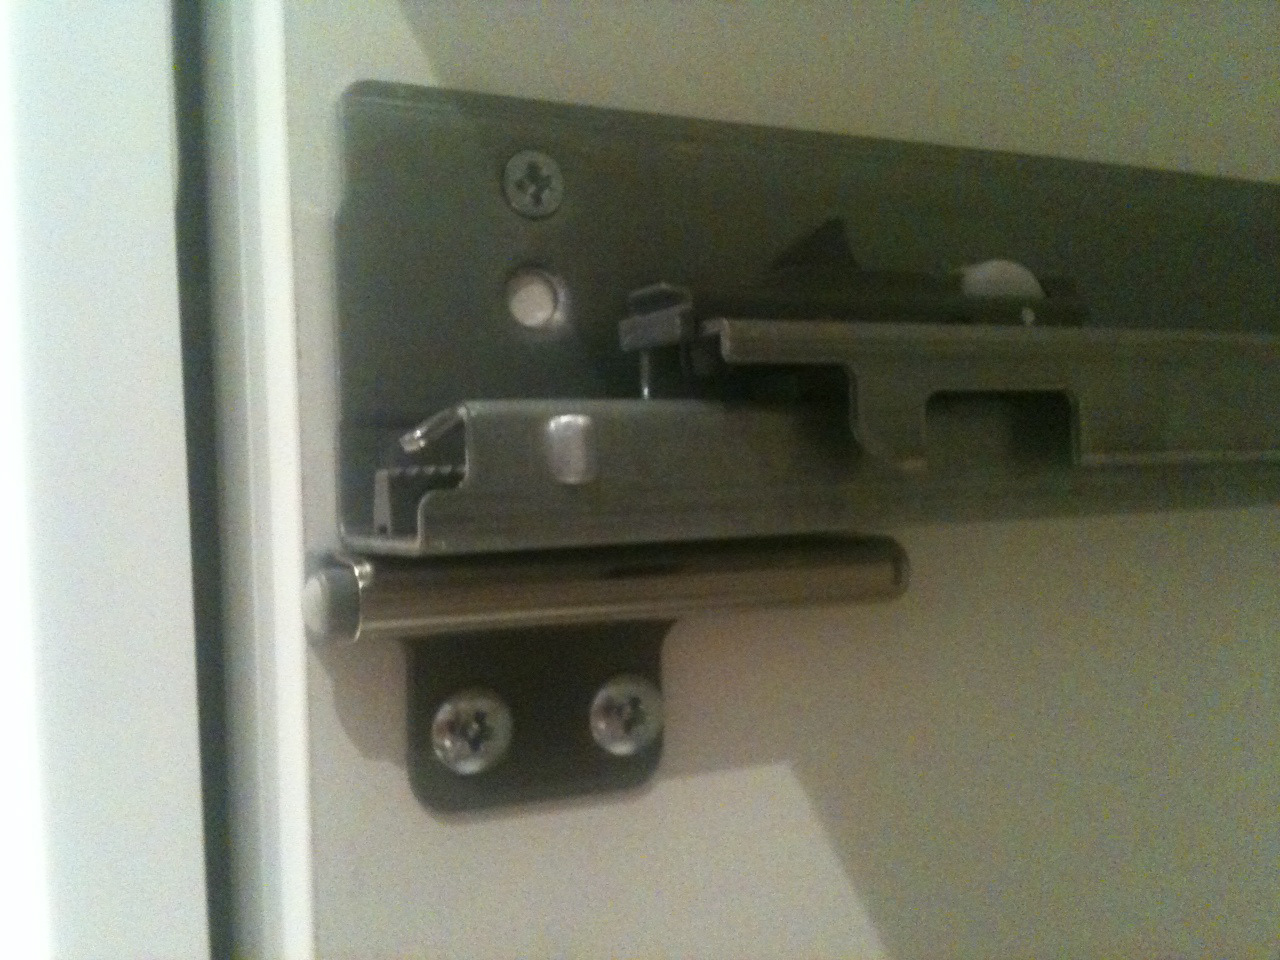
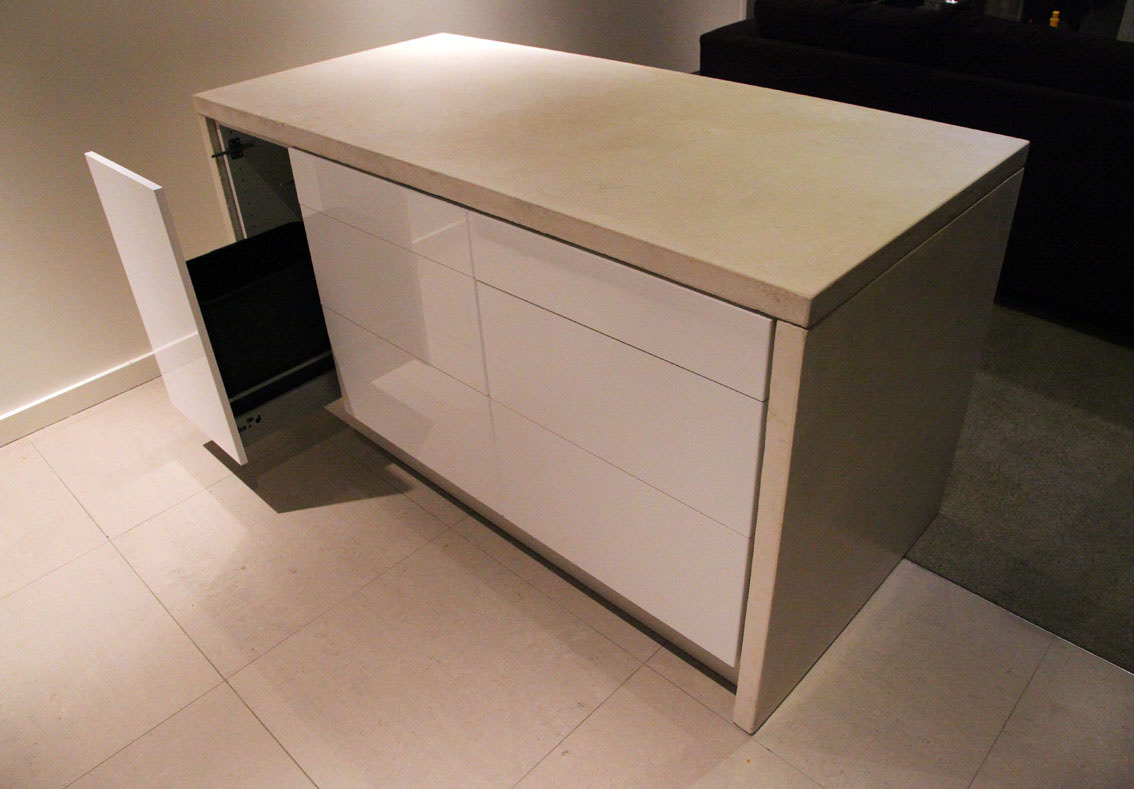
To ensure a flush handle free draw panels i used Besta push openers. I had to hack the top draw openers to fit, cut off the top plastic wing to fit it flush under the rationell draw rail. The others will fit normally as they have the room, just position carefully as to not hit draw slides. You will need 2 besta openers per draw otherwise they will not have the strength to open.
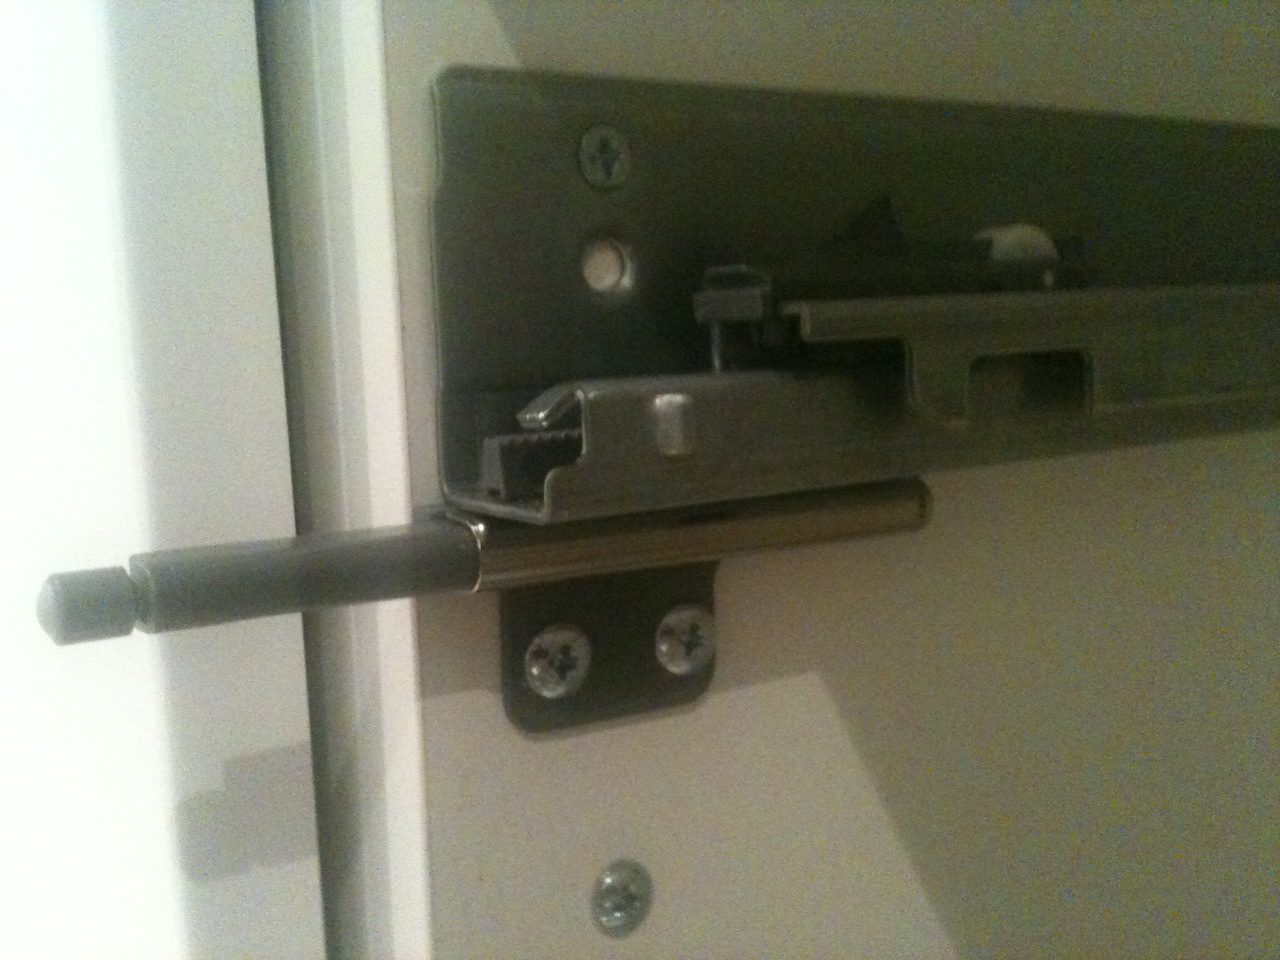

Finished bin draw with best openers doing their job.
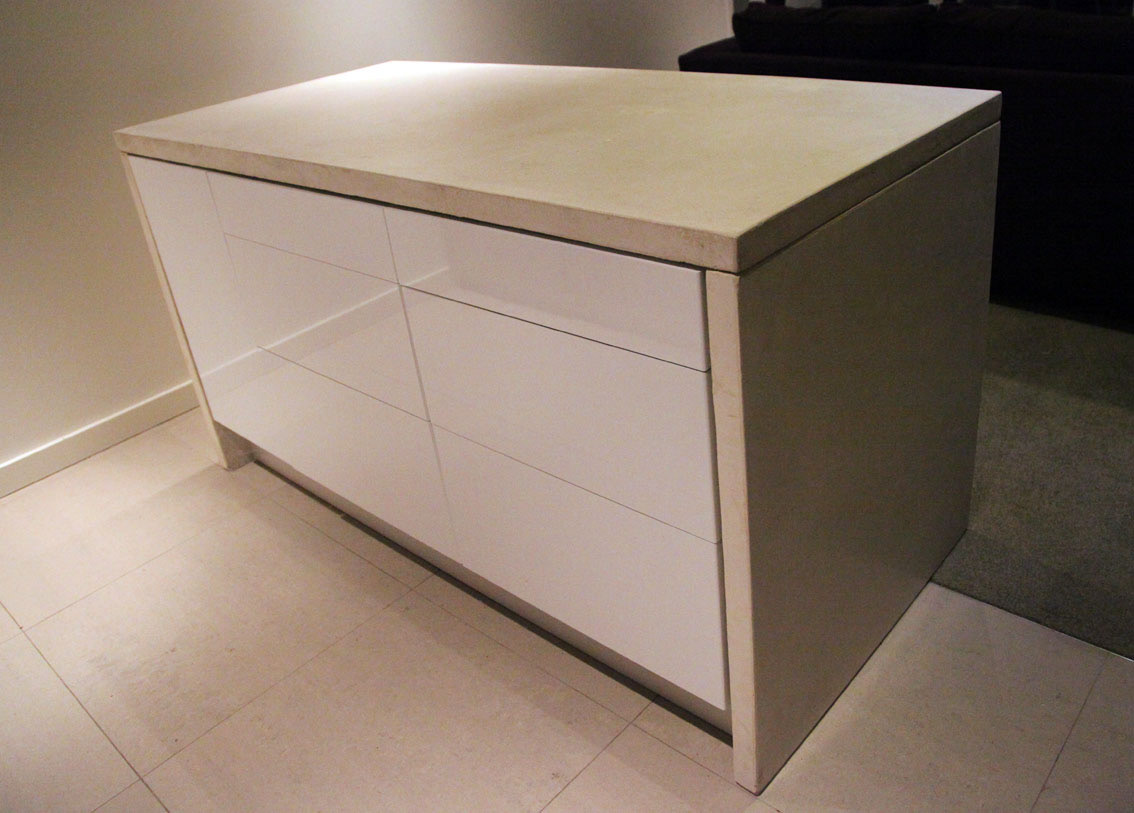
Nice flush gaps around panels.
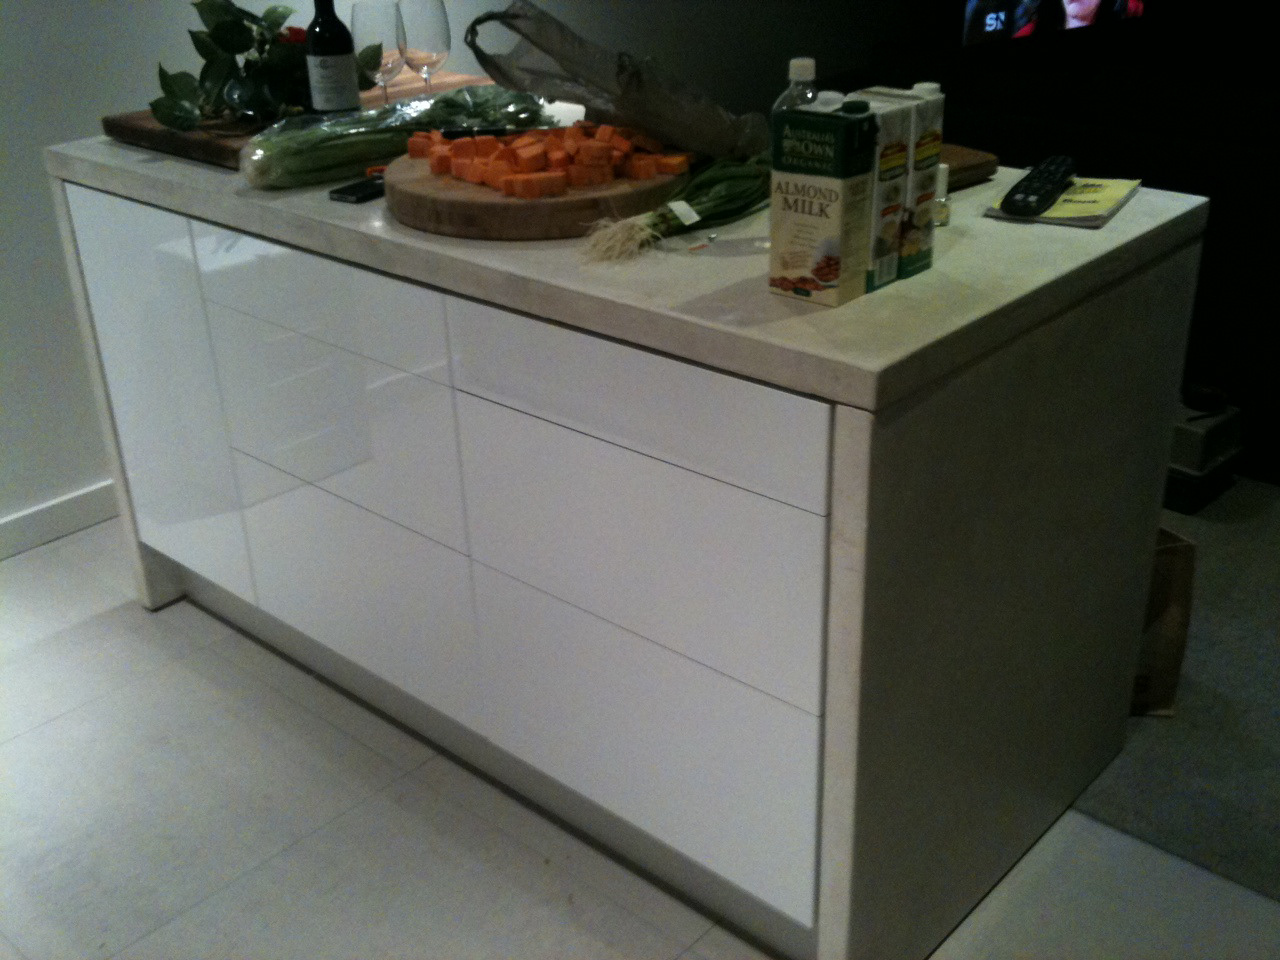
Mission complete, enjoy a wine on your new kitchen island! Very challenging project but well worth the results.
As seen at ikeahackers.net
As seen at ikeahackers.net